Table of Contents
Overview
The Architect application provides the possibility to create and configure the Login screen and additional options that can be used for Login procedure, such as SMS Verification, Email Verification, Secret Question Authorization, Registration, Password Reset screens.
A special Login screen template is used for creating and adjusting a Login screen.
Please note that fields on the Login screen contain the stable and fixed values of the Data Field parameter.
Do NOT change the values for Data Field parameter for the field UI elements when configuring a Login screen. This may break the template sections or incorrectly fill in the data in the Render application.
As any simple and intuitive Login screen, the Login screen template existing in the system, already includes the Username (Account Name) and Password fields, as well as additional labels and buttons for better user experience. These labels, buttons and fields can differ depending on the type of Login screen or additional options.
Let us have a look at the Login screen template currently configured in the Architect.
Configure Login Screen
On the Screens Overview page, find the Login screen. Open the Screen Builder for editing by clicking the Update with builder icon.
You can adjust the Login screen according to your view, brand customization and requirements.
On the first page of Screen builder, the following parameters are connected to the Login screen and should be specified for the correct screen configuration:
Primary Table - the actual database table must be selected. Currently, the c_user_accounts database table is used.
LOGIN SCREEN - the LOGIN SCREEN check box must be selected.
Screen Layout - 1x1 layout must be selected by default.
On the second page of Screen builder, you can rearrange the UI elements and configure the functional part of the Login screen.
The simple Login screen is configured on the Default tab. Other options and versions of screen configuration are built on other tabs.
Section Settings
The Section Settings for the Default, SMS Verification, Email Verification and Secret Question Authorization pages are like regular section settings and look as follows:

One difference is that there is a possibility to resize the screen section:
Select the Use 50% section width check box to reduce the section at 50% of the normal section size.
The setting settings for the Registration and Password Reset will be described in the corresponding sections below.
Default (Login Screen)
On the Default tab, you can configure a template for a simple Login screen appearing in the Render application by default.
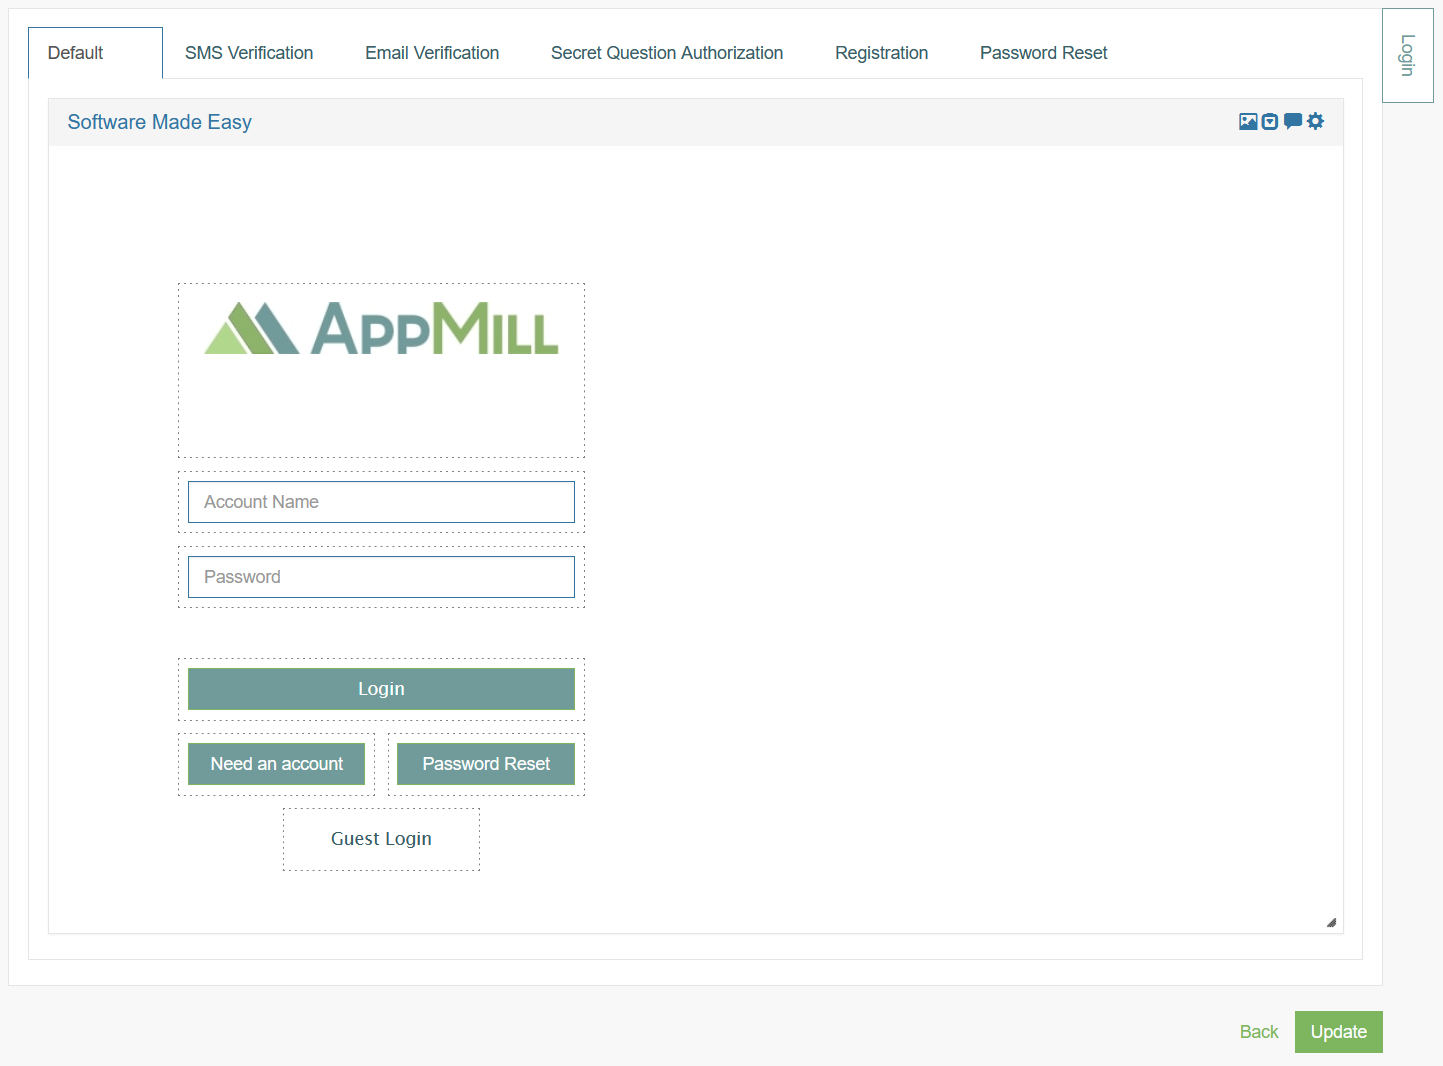
The following parameters are specified and can be adjusted, if needed:
Logo Image - an image used as a company logo on the Login screen.
Account Name - a field used for entering a user name.
Password - a field used for entering a password.
Please DO NOT change the Data Field values for the Account Name and Password fields. This may cause problems when filling in the required data in the Render application.
Login - a button with the Login button action. Clicking the Login button on the Login screen in the Render application will submit the form and verify the combination of data entered in the Account Name and Password fields. After successful authorization user will access the Render application.
Need an account - a button with the Registration button action. This option gives the possibility to self-register in case the user does not have an account.
Password Reset - a button with the Password Reset button action. Clicking the Password Reset button will redirect user to a Password Reset page. This can be helpful for users in case of forgotten or incorrect password.
Guest Login - a label with the link providing a guest login with the possibility to further create non-secure items in the Render.
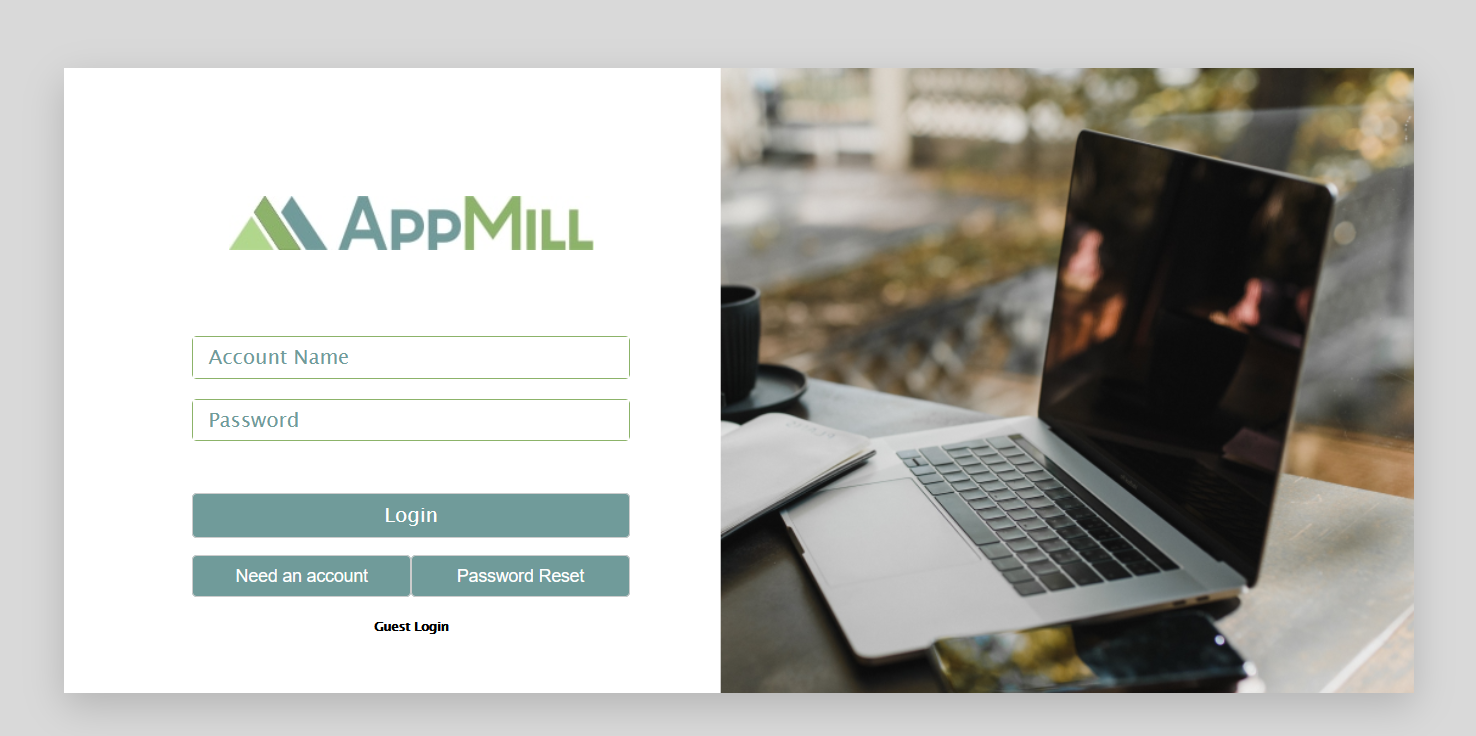
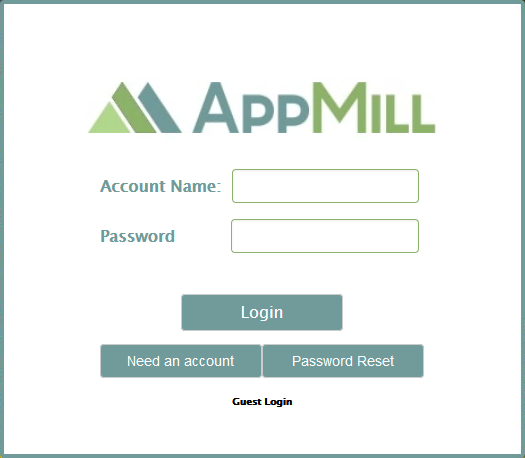
In the Render application the default login screen will be displayed as follows:
SMS Verification
On the SMS Verification tab, you can configure a screen template used to double-check the identity of a user. In case of SMS verification, an SMS verification code will be sent to user’s phone number after entering Username and Password. The received code is used to complete the login procedure.
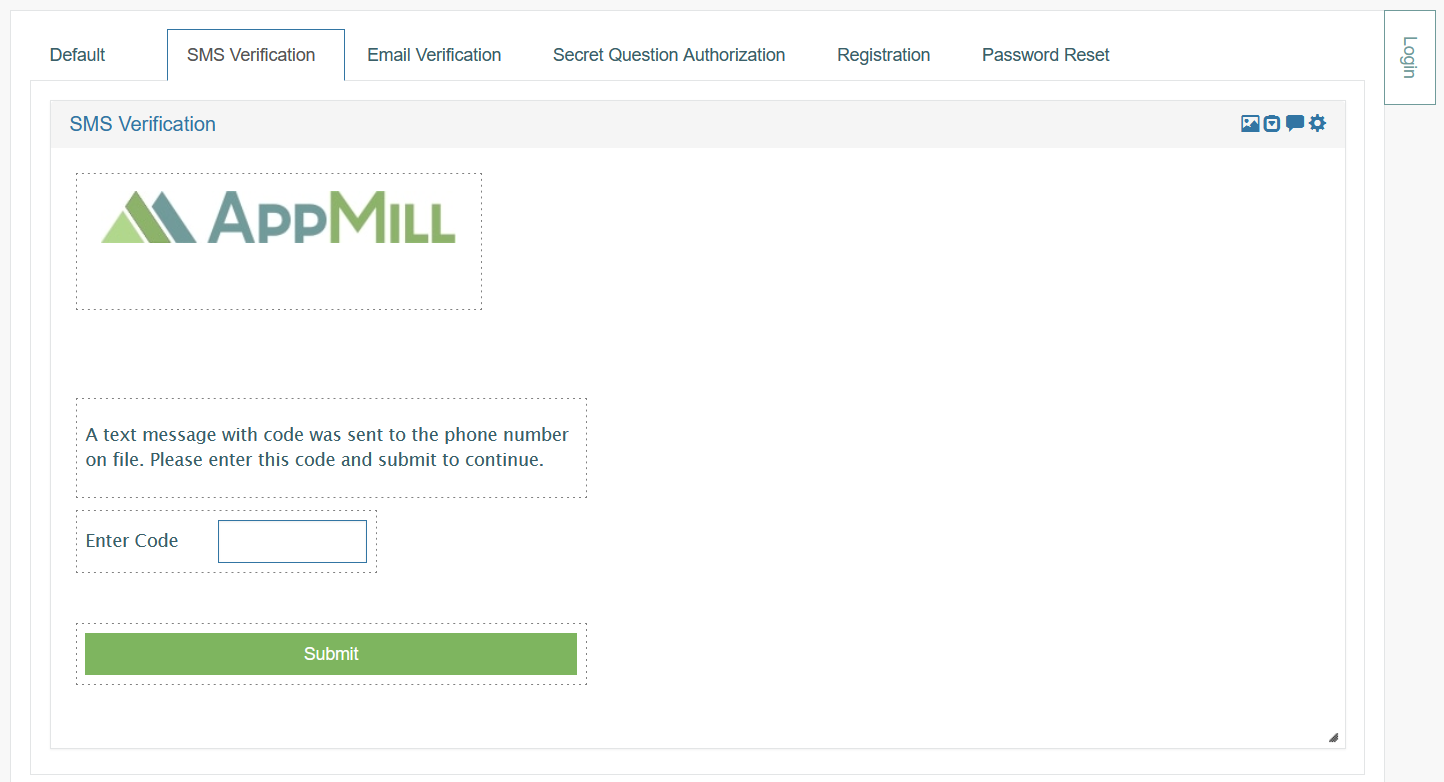
The following parameters are configured and can be adjusted, if needed:
Logo Image - an image used as a company logo on the Login/SMS Verification screen.
Explanation Code - label containing the text with the explanation of the SMS Verification procedure.
Enter Code - a field for entering the received code.
Submit - a button with the Login button action to submit the form.
Clicking this button will process and verify the data entered on the Login screen in the Render.
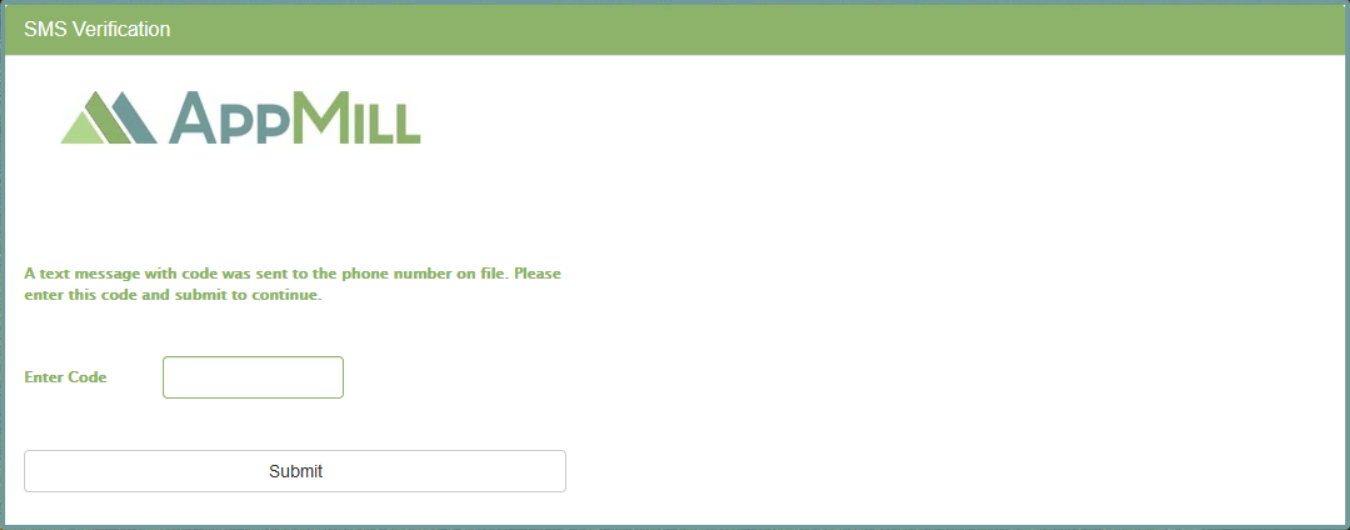
In the Render application the login screen with SMS verification will be displayed as follows:
Email Verification
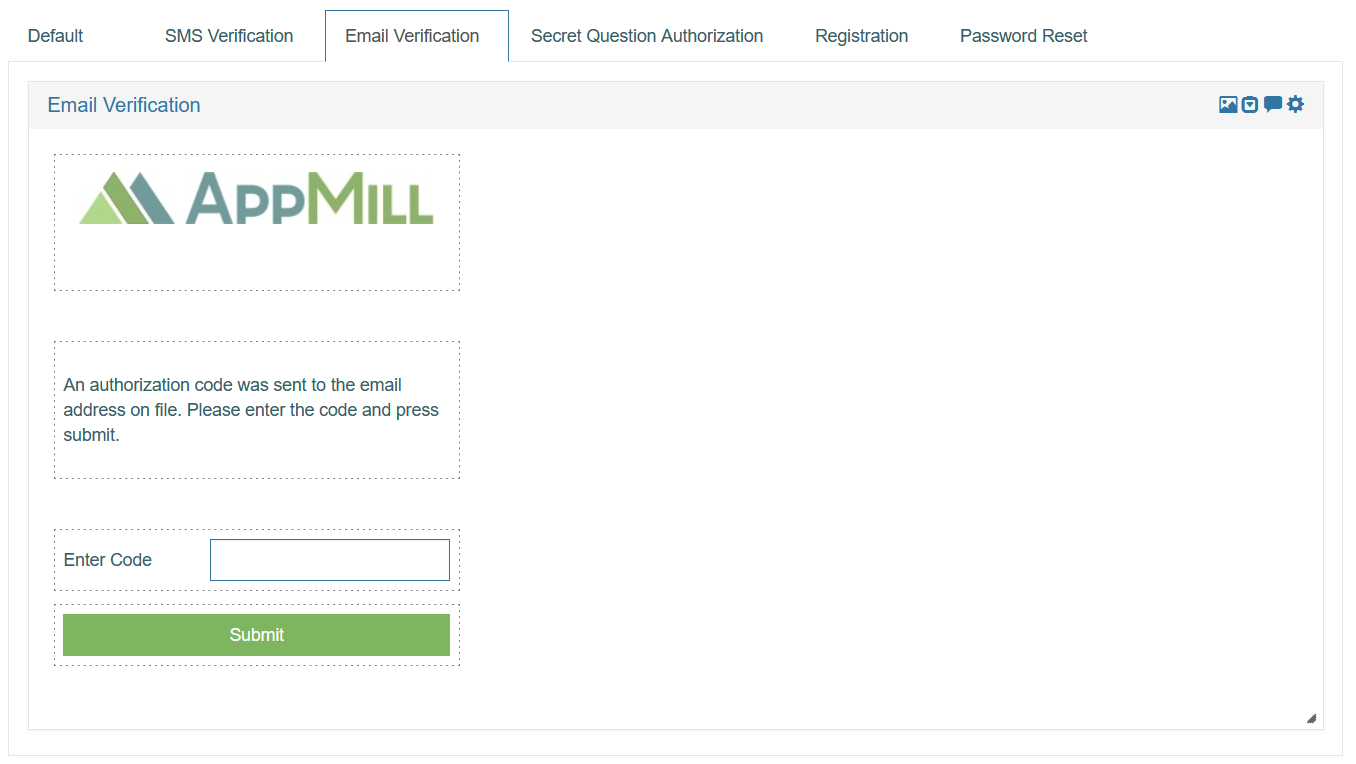
On the Email Verification tab, you can configure a screen template used to double-check the identity of a user via help of code sent to the email address (like SMS Verification).
In the Render application, after entering Username and Password, user will receive a verification code to user’s email address.
The code received via email is used to complete the login procedure.
The following parameters are configured and can be adjusted in the Architect, if needed:
Logo Image - an image used as a company logo on the Login/Email Verification screen.
Explanation Code - label containing the text with the explanation of the Email Verification procedure.
Enter Code - a field for entering the received code.
Submit - a button with the Login button action to submit the form.
Clicking this button on the Login screen in the Render will verify the data entered on the screen.
The Email Verification tab looks as follows:
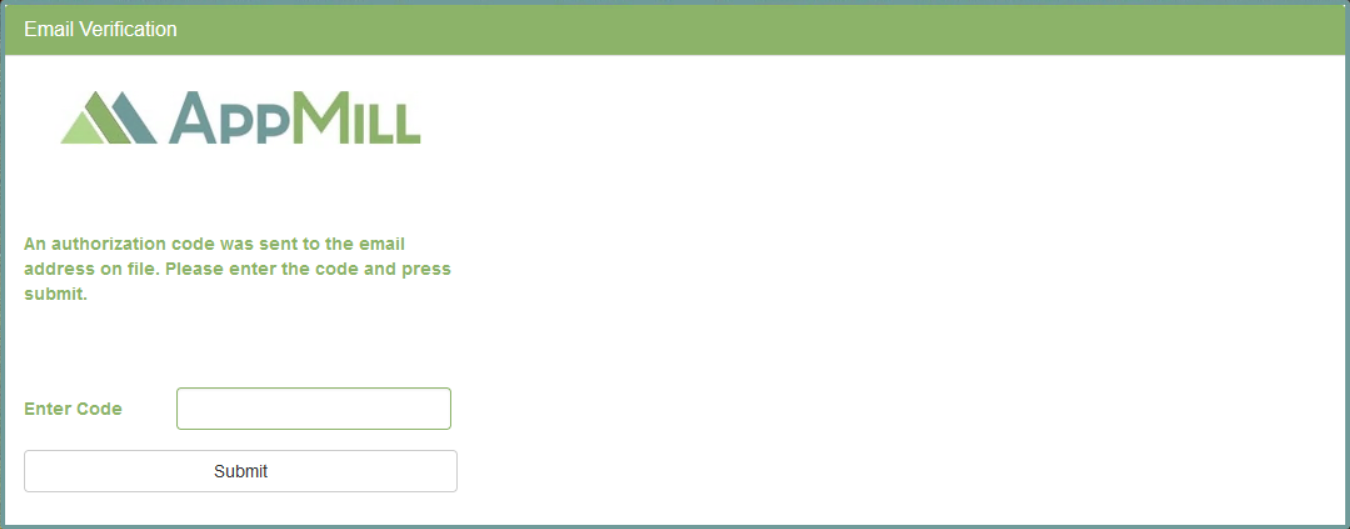
In the Render application the login screen with Email Verification will be displayed as follows:
Secret Question Authorization
On the Secret Question Authorization tab, you can configure a screen template used in case the Secret Questions Authentication is selected as an Authorization Type in the Security Filters. After entering Username and Password, a secret question will be displayed. User needs to enter the secret answer to complete the login procedure.
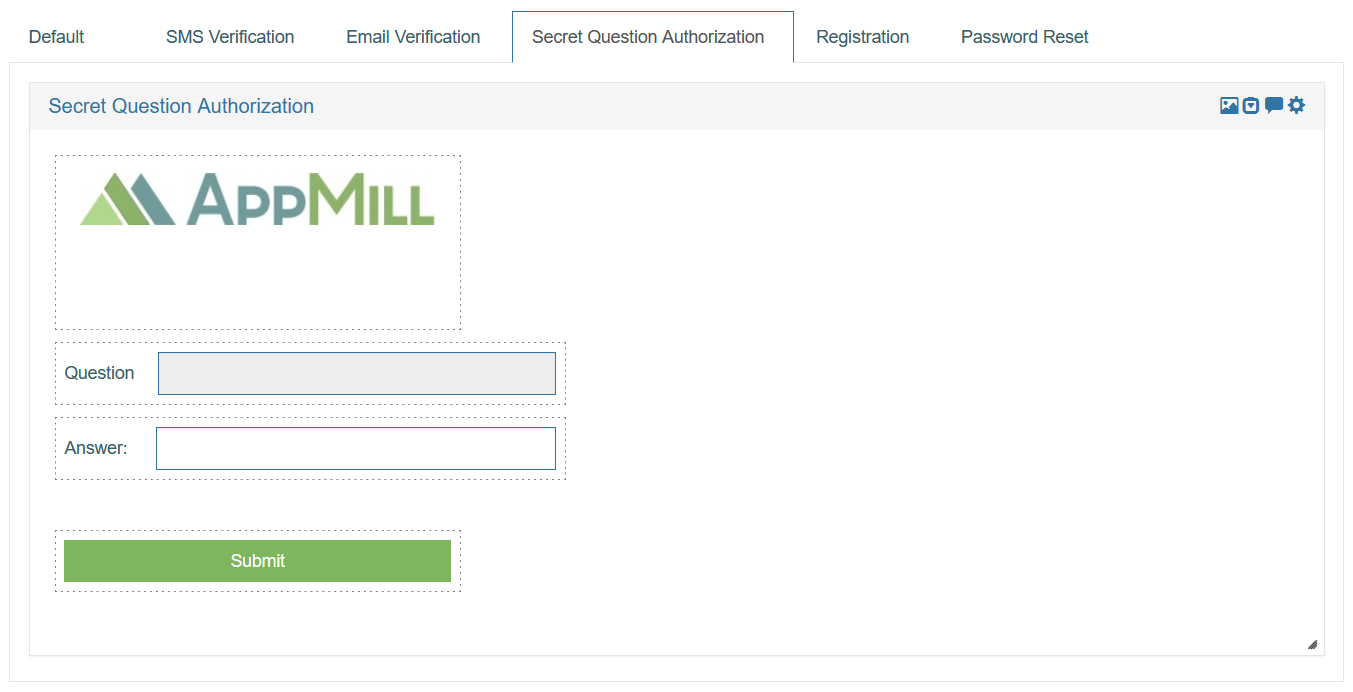
The following parameters are configured and can be adjusted, if needed:
Logo Image - an image used as a company logo on the Login screen.
Question - this is read-only field filled in with the secret question. One of 5 questions stored in the database will appear in turn.
Answer - this is a field where user should enter a secret answer to the secret question on the Login screen.
The combination of secret questions and answers are stored in the database.
Submit - a button with the Login button action to submit the form. Clicking this button will process and verify the data entered on the screen.
Registration
On the Registration tab, you can configure a screen template used as a Self-Registration form in the Render. To open the Registration page in the Render, user should click the Need an Account button on the Login page.
The Registration screen Section Settings are different from the regular section settings and look as follows:

In the Section Settings pop-up window, the following parameters can be set up:
Layout Label - the title of the section that will be displayed in the Render.
Hide Section Header - select the check box to hide the section name.
Hide Section pop-up - the header section can be opened as a pop-up window. Select the check box to deactivate the possibility of opening the section in a pop-up window.
Use 50% section width - select the check box to reduce the section at 50% of the normal section size.
Linked Field and Active Value - these fields are not related to the Registration screen and can be skipped.
Account Status - define the Account Status of a user after registration.
Enable the check box to set the status to Active.Account Type - define the account type that will be saved to user settings.
Tenant Code - define the tenant code that will be saved to user accounts. The Tenant Regional and Styles settings will be copied to a new user account as well.
User Type - define the user type that will be saved to user accounts.
Default Group - selecting the default group you define the Render start screen appearing for user after login.
Group Membership - select the user groups that will be assigned to the user. The user will have access to the screens of the selected groups.
Document Groups - select the groups of documents that will be available for the user.
Notification User Type - select an email template containing user login name. The email will be sent to the user after self-registration procedure.
Notification Password Type - select an email template containing password. The email will be sent to the user after self-registration procedure.
Identify Verification - select the check box to enable the Identify Verification section on the Registration screen.
Primary Table - the field is connected to the Identify Verification check box to include the primary key(s) values to the fields and security filters.
Account Protection - the field is connected to the Account Protection section with the list of secret questions. Select the check box to enable the Account Protection section.
Section Type - should be Edit type.
The default screen template for the Registration screen looks as follows:
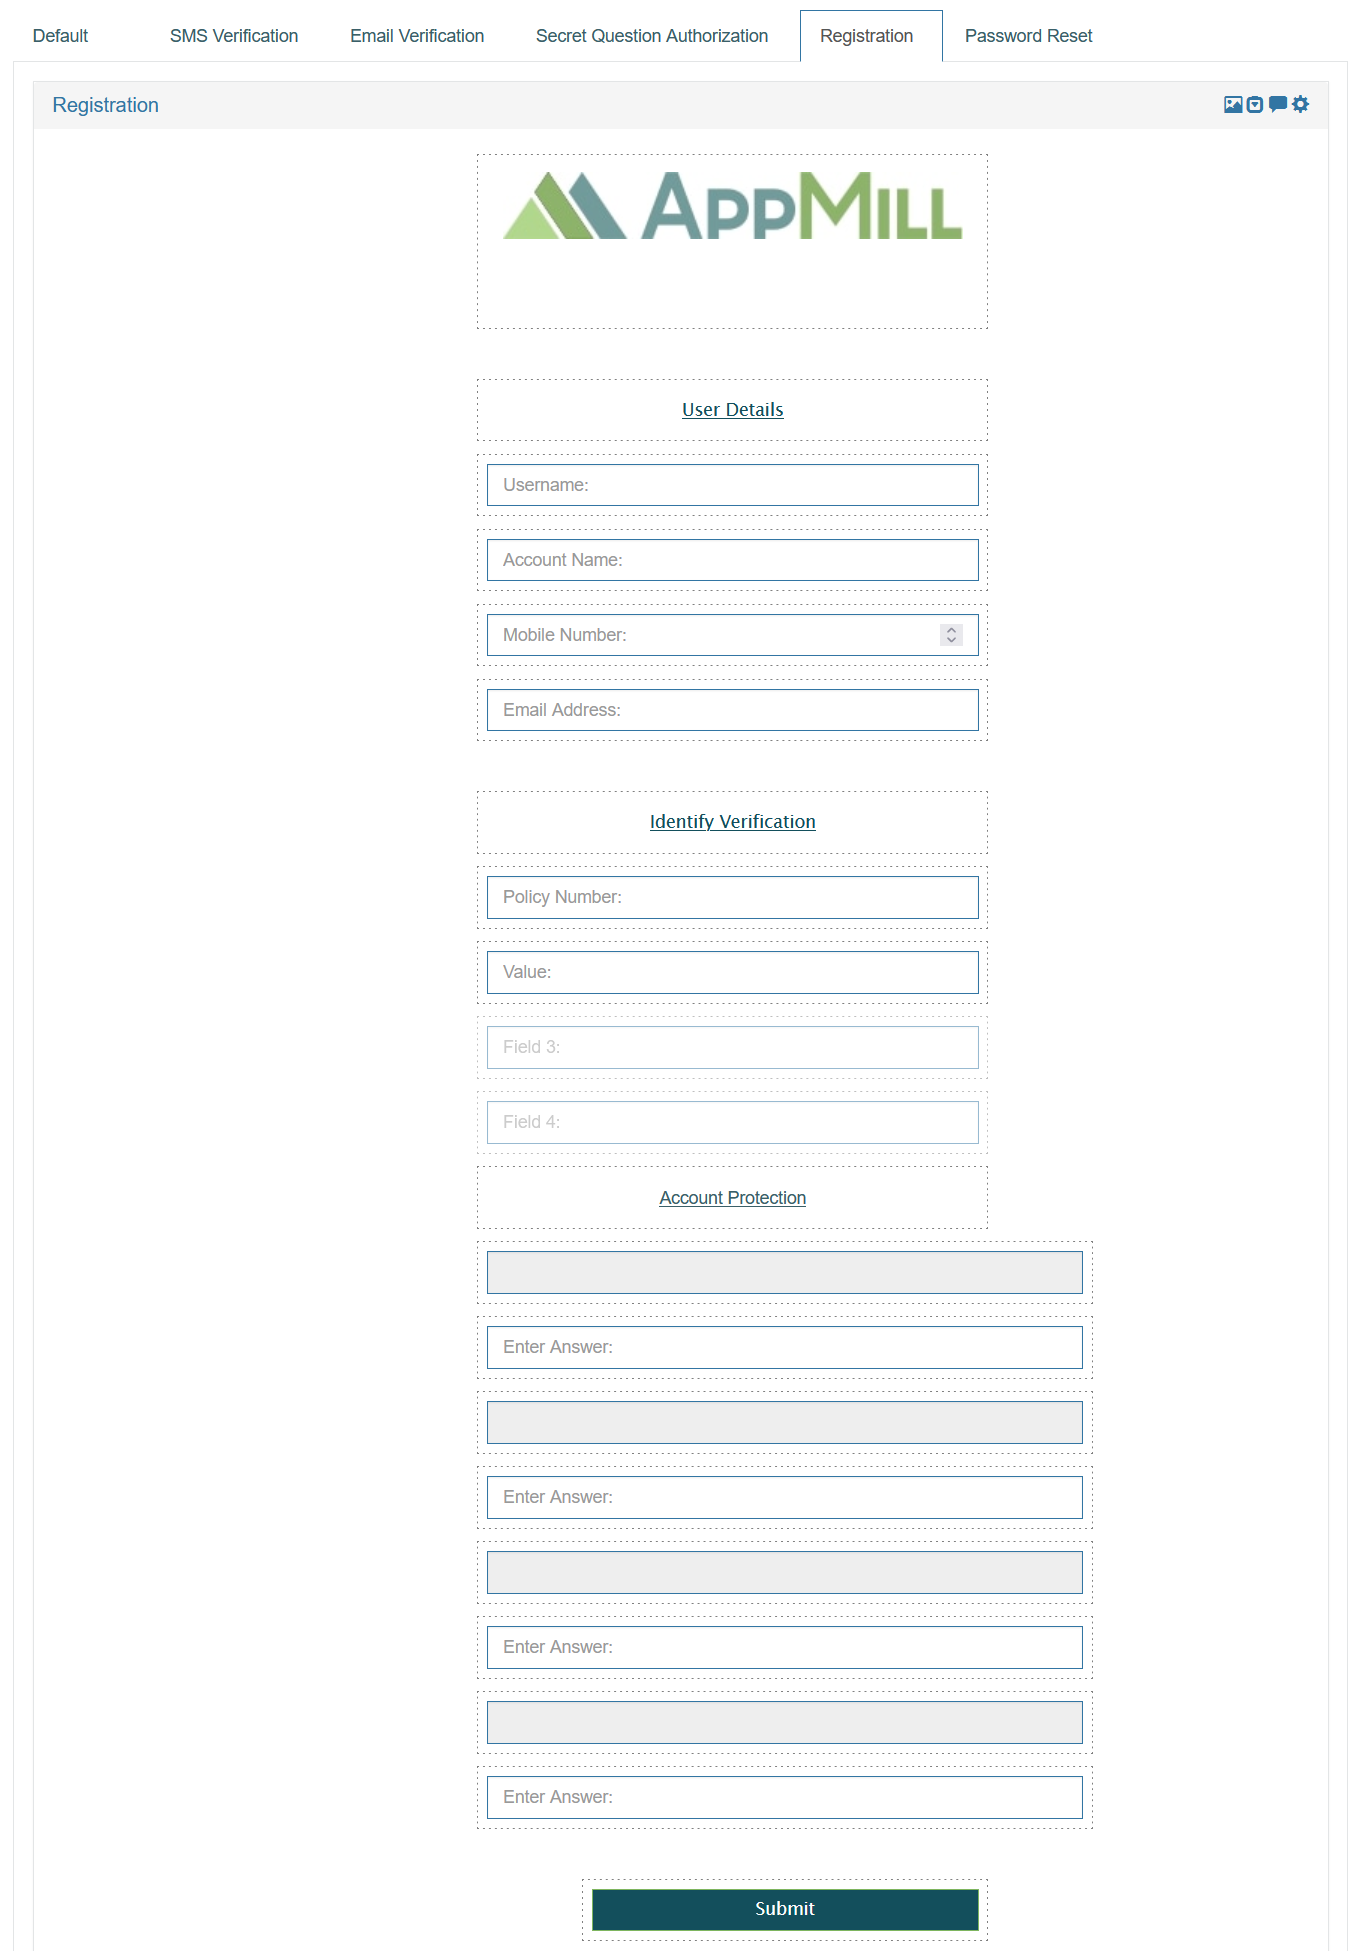
The Registration screen template consists of several sections:
User Details
Username - user login name that will be used to log in into the Render.
Account Name - user name that will be displayed on UI and saved as an account name in the Architect.
Mobile Number - contact phone number.
Email Address - email address that will be used to send a password and username for login.
Identify Verification
Policy Number - the primary table field that can be used for the verification and saves as a Security Filter 1.
Value - the primary table field that can be used for the verification and saved as Security Filter 2.
Field 3 - the primary table field that can be used for the verification. The field is hidden.
Field 4 - the primary table field that can be used for the verification. The field is hidden.
The Field 3 and Filed 4 are technical and internal. They are not displayed on the Registration page on the Render application.
Account Protection
Secret Questions - there are 5 secret questions already stored in the database table.
Secret Answers - these are fields for entering the secret answers that will be further stored in the database.
Submit - a button with the Registration Submit button action to submit the Registration form. Clicking this button will save the data entered on the screen.
Note that all values of the Data Field parameter for Fields UI elements on the Registration tab are not editable to prevent the problems in the Render application.
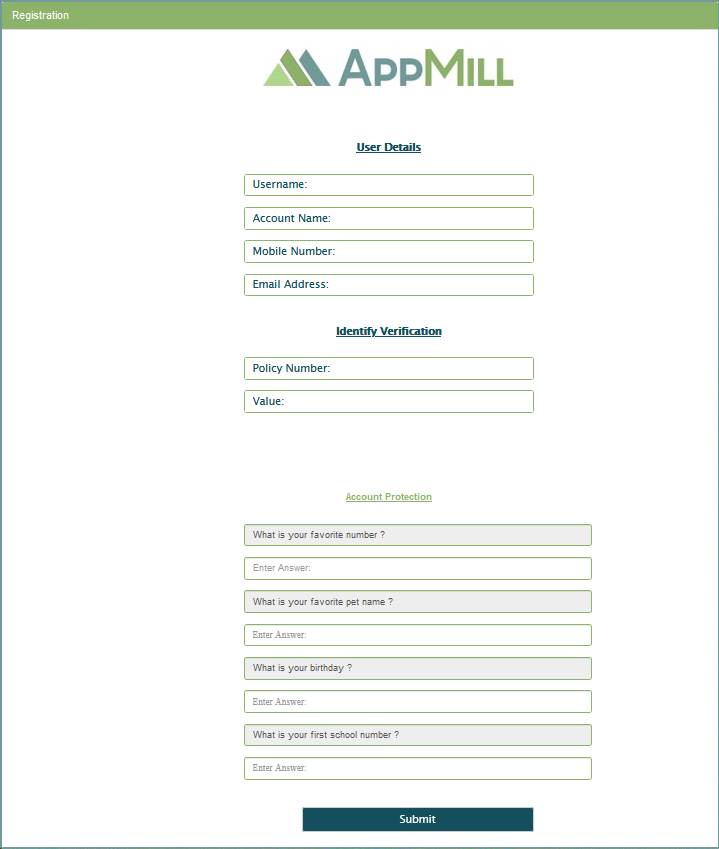
In the Render application the Registration screen will be displayed as follows:
Password Reset
On the Password Reset tab, you can configure a screen template used in case user cannot log in into application (the password is incorrect or forgotten).
The Password Reset page provides the possibility to change the current password. A new password will be sent to the email address entered on the Password Reset screen.
User can use the received password to complete the login procedure.
The Section Settings of the Password Reset screen are different from the regular section settings and look as follows:
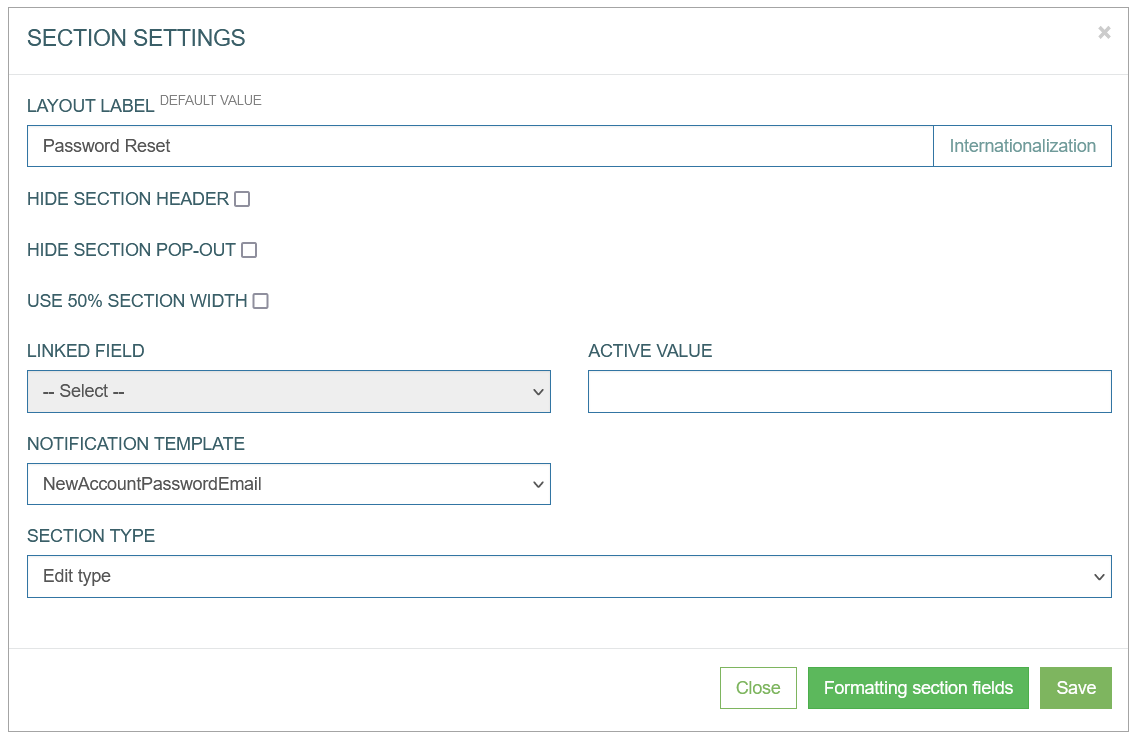
In the Section Settings pop-up window, the following parameters can be set up:
Layout Label - the title of the section that will be displayed in the Render.
Hide Section Header - select the check box to hide the section name.
Hide Section pop-up - the header section can be opened as a pop-up window. Select the check box to deactivate the possibility of opening the section in a pop-up window.
Use 50% section width - select the check box to reduce the section at 50% of the normal section size.
Linked Field and Active Value - these fields are not related to the Registration screen and can be skipped.
Notification Template - select the notification template that will be sent during Password Reset procedure. The email will contain a new password.
Section Type - should be Edit type.
The default screen template for the Password Reset screen looks as follows:
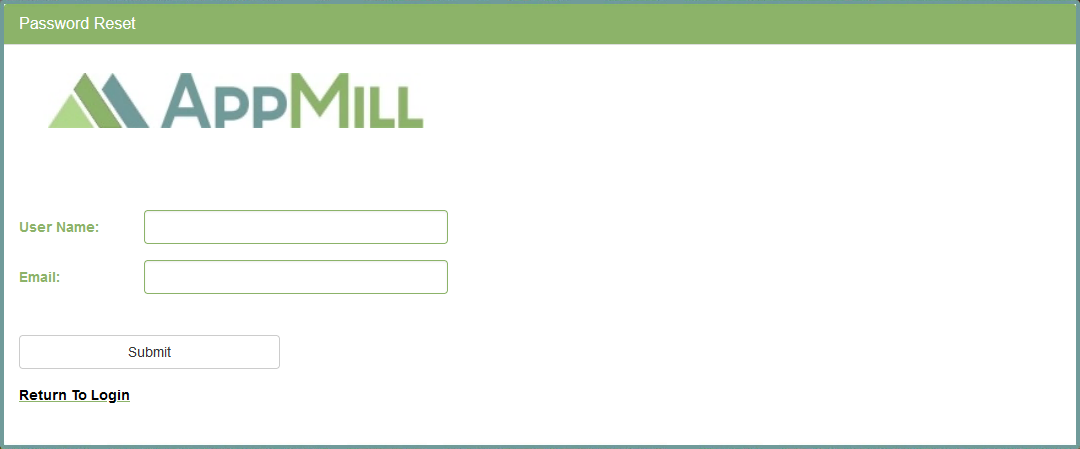
The following screen template parameters are configured and can be adjusted, if needed:
Logo Image - an image used as a company logo on the Password Reset screen.
Email - a field for entering the email address. A new password will be sent to the email entered here.
Submit - a button with the Password Reset Submit button action to submit the form.
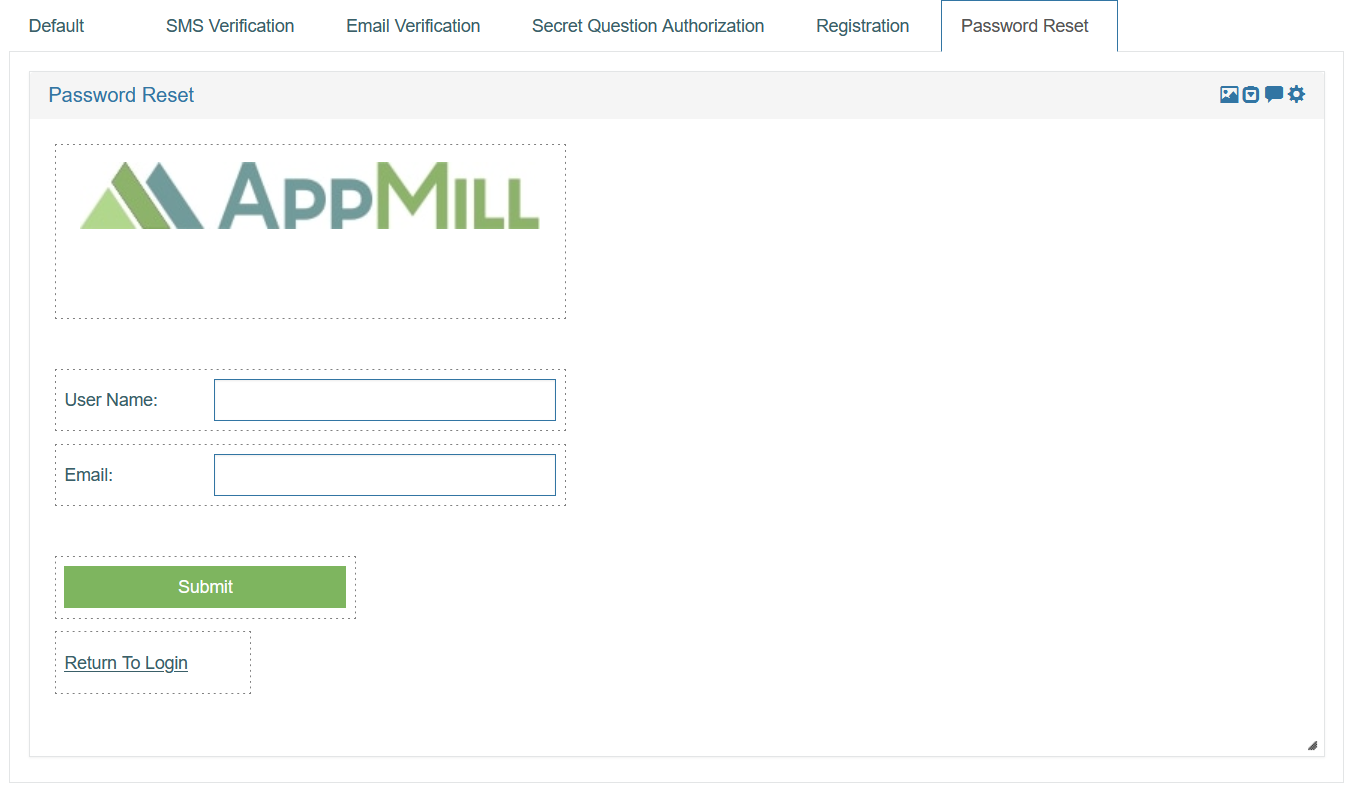
Return to Login - label with the link leading to the default AppMill Login page.
In the Render application the Password Reset screen will be displayed as follows: